How to Create a Membership Using the Sales Engine
With the Sales Engine, you can create memberships and sell your courses as part of a membership plan and as individual items!
Once you have the Sales Engine installed, follow the steps below to create your first membership!
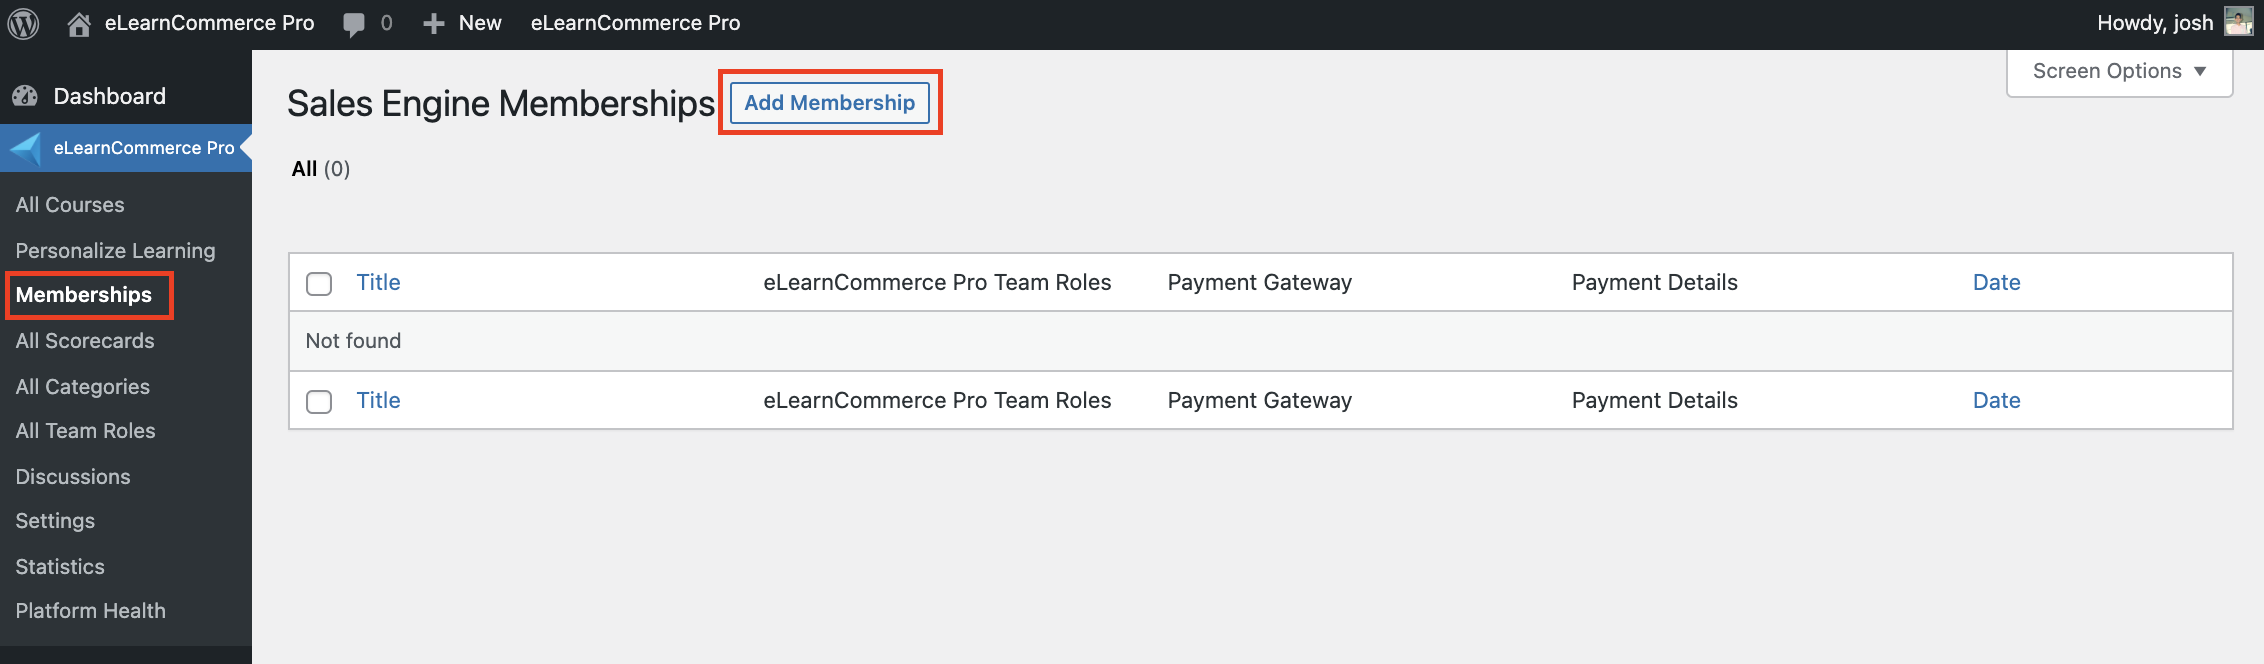
1: Hover over the eLearnCommerce tab in your WordPress sidebar and click Memberships -> Add Membership.
2: Give your membership a name.

3: Define your payment settings.
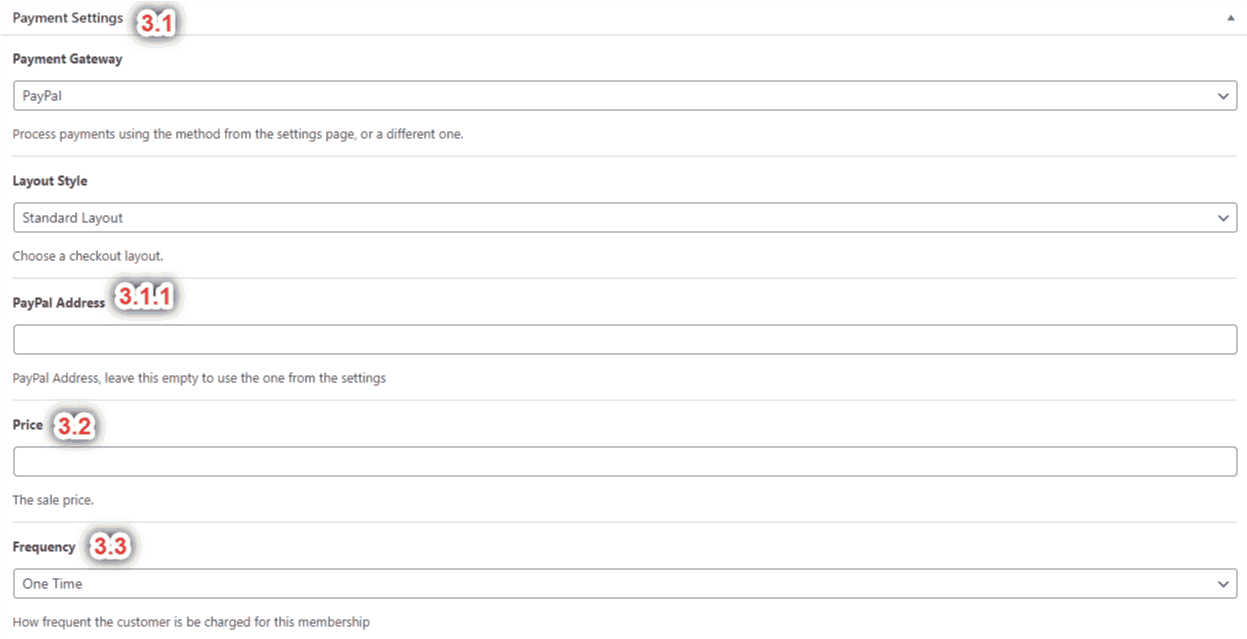
3.1: Choose the payment gateway you would like to use.
3.1.1: If selecting PayPal, enter the PayPal email address.
3.2: Enter the price of your course.
3.3: Enter the payment frequency for this membership.
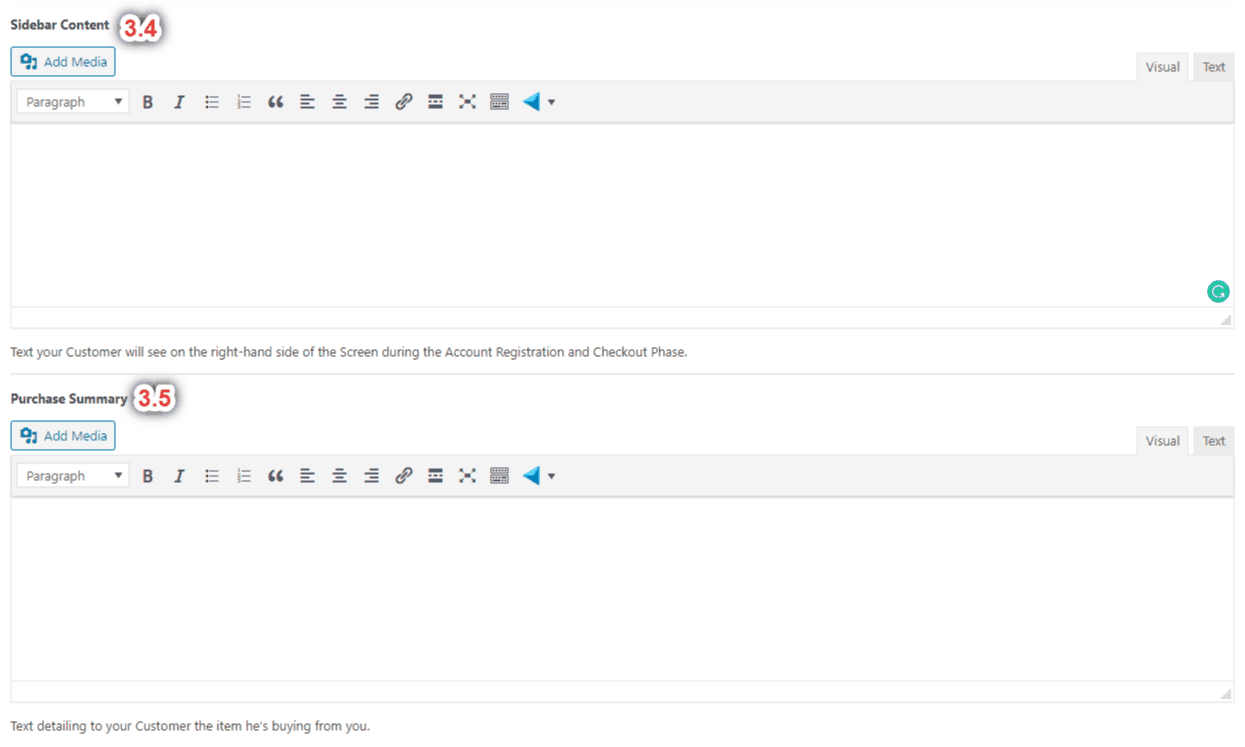
3.4: Enter the content to be displayed on the right-hand side of the screen on account registration or checkout.
3.5: Enter the description of the item being purchased.
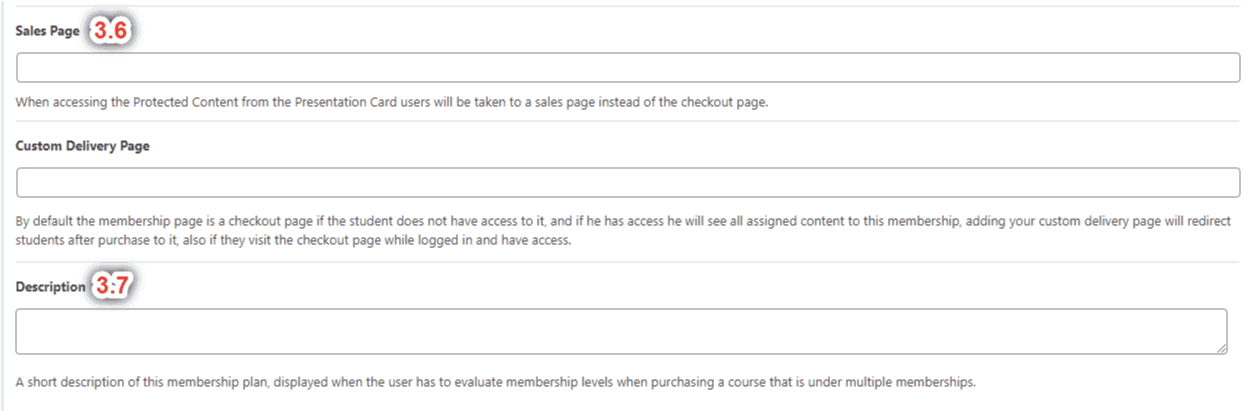
3.6: Optionally enter the URL of a sales page. This is the page students will be redirected to when accessing protected content from the presentation card instead of being directed to the checkout page.
3.7: Enter a short description of this membership plan.
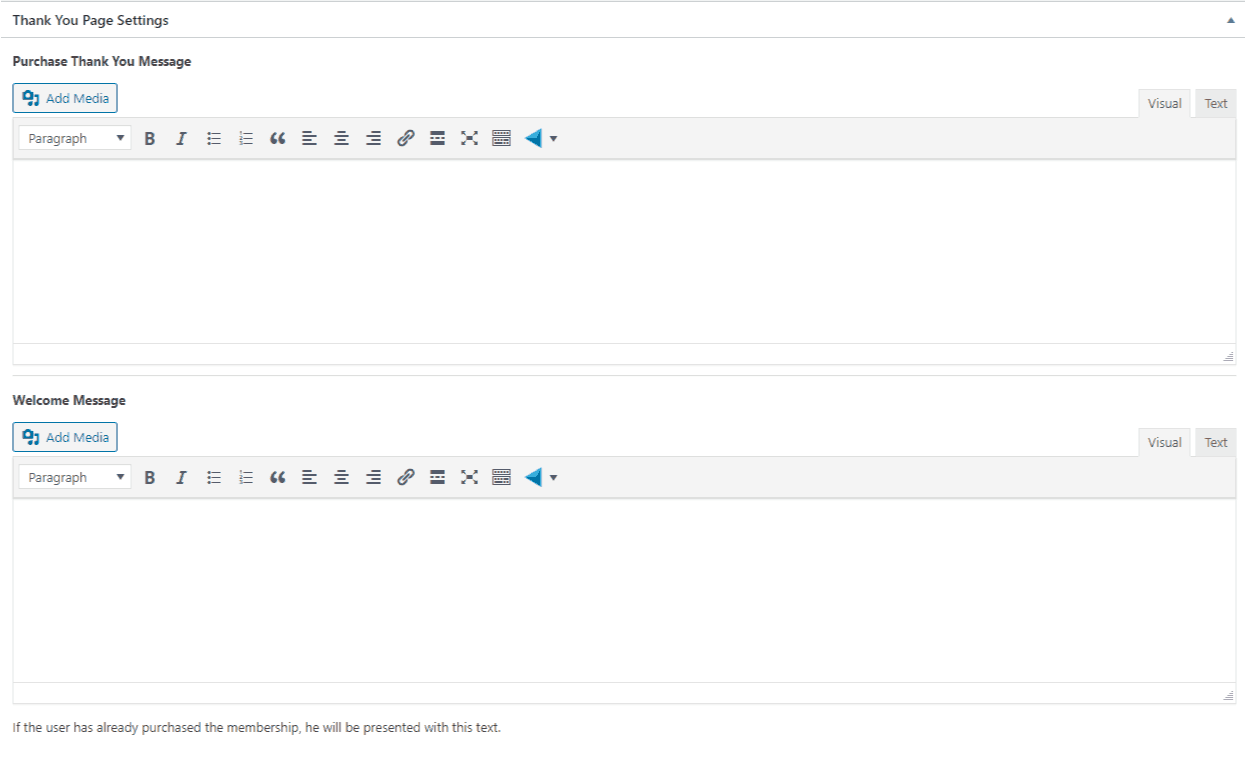
4: Configure your thank-you page. Enter a thank you message to be displayed upon successful purchase and a welcome message to be shown to returning students who have already purchased the membership.
5: Click Publish to create your membership! Now start assigning content to it!